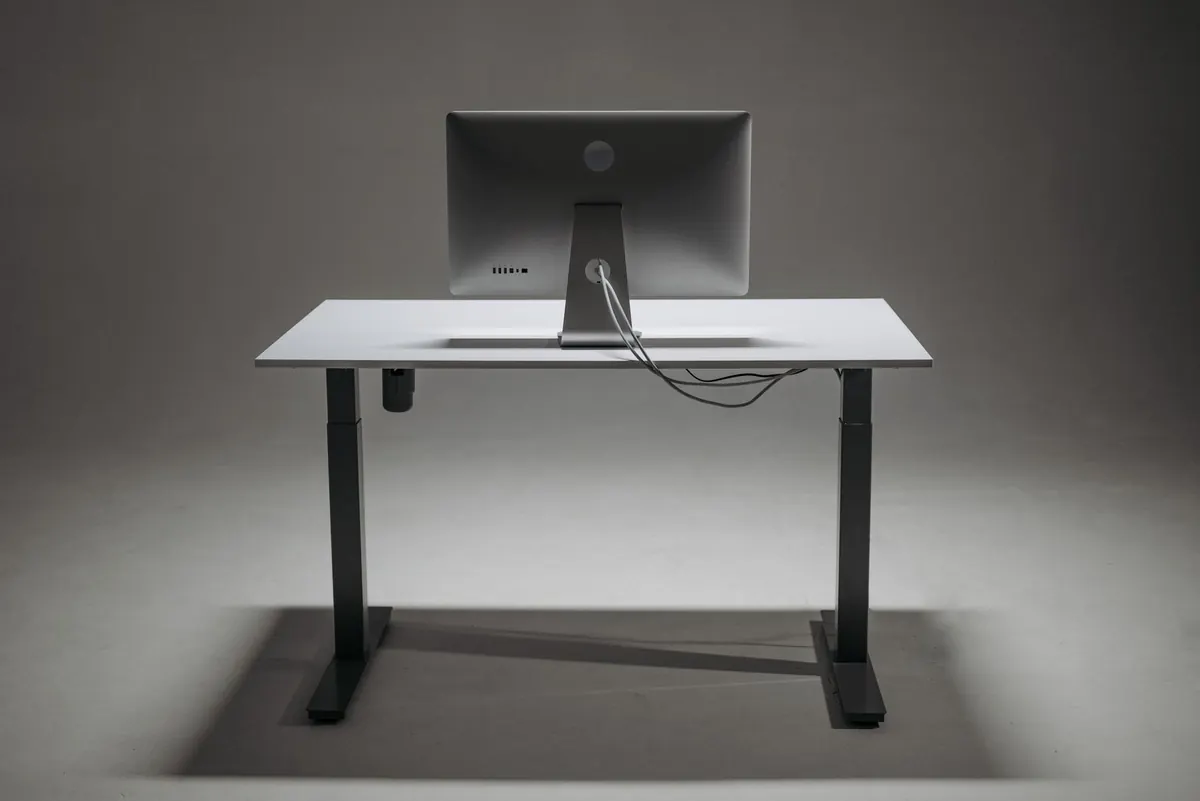
Most home offices are fine on top and a disaster underneath. The desk surface looks tidy, but the moment you crouch down you're confronted with a nest of mains leads, monitor cables, a laptop charger and at least one mystery plug that hasn't been used since 2019. It isn't laziness. Cables multiply quietly, and nobody designs a desk thinking about what happens behind it.
The good news is that cable management is a job you do once and then barely think about again. You don't need to be a perfectionist, and you don't need to spend much. You need about an hour, a handful of cheap parts, and a sequence that works with the way you actually use the desk.
Start by emptying, sorting and photographing
Unplug everything first. Before you start pulling cables apart, take a photo of the back of the desk with your phone. It sounds fussy; it saves you twenty minutes of guessing later when the second monitor won't come on.
Then sort every cable into three piles:
- Permanent. Monitor power, monitor video, speakers, desk lamp, ethernet, the plug that feeds your dock. These rarely move.
- Occasional. Laptop charger, headphone lead, phone cable, card reader. These get plugged in and out constantly.
- Dead weight. Cables for devices you no longer own, mini-USB leads from old phones, that mystery wall wart with no label. Bin them or put them in a labelled bag in a drawer.
Test each remaining cable as you go. It's cheaper to replace a suspect HDMI lead now than to spend an evening troubleshooting it after everything is neatly tied down.
The kit that actually earns its place
You can spend a fortune on cable accessories. You only need a few things, and most of them cost very little:
- An under-desk cable tray or basket, wide enough for a power strip plus a couple of chargers.
- Hook-and-loop ties (velcro-style), never single-use plastic zip ties. You will need to change things.
- Self-adhesive cable clips or P-clips for holding a route in place.
- Adhesive-backed trunking for the run down a desk leg and along the skirting.
- Spiral wrap or a braided sleeve for bundling several thin cables into one tidy line.
- Labels and a pen, or a label maker if you have one.
- A surge-protected extension lead with a switch, so one flick kills the desk.
Before anything sticks to your desk, clean the surface with a little isopropyl alcohol and let it dry. Adhesive grips painted chipboard and laminate far better when there's no dust or furniture polish in the way.
Build it in the right order
Sequence matters more than technique here.
- Mount the power first. Fix the extension lead or power strip into the tray or onto the underside of the desk. Everything else routes towards it, so it sets the geography.
- Run the long cables. Take mains and any wall-bound cable down the desk leg and along the skirting, inside trunking or clipped every 20–30cm. This is the run people see, so give it the effort.
- Bundle the desk-to-device cables. Group monitor, USB and audio leads into one sleeve or loose bundle, then secure it to the underside of the desk with a couple of ties. Don't over-tighten; cables should never be pinched.
- Leave slack at both ends. Thirty to forty-five centimetres of spare loop means you can pull the desk out to vacuum or reach a socket without unplugging anything.
- Deal with the chargers last. Occasional cables are the ones that cause mess, so give them a dedicated clip or a small hook on the desk's edge where they live when not in use.
Route cables safely, not just neatly
Neat and safe aren't automatically the same thing. A few rules are worth following.
Mains and signal
Running a mains cable alongside a data or audio cable is usually fine, but for sensitive gear such as studio monitors or a decent microphone interface, keep a bit of separation. If you hear a hum that disappears when you move a lead, that's the cause.
Heat and damage
Don't coil excess mains cable tightly and leave it bunched under load — it warms up. Keep surplus cable loose in the tray or arranged in a figure-of-eight. Check regularly that nothing is being crushed by a chair castor, trapped in a drawer runner, or resting against a radiator or a hot power supply.
Load and trip hazards
Never daisy-chain extension leads into one another, and don't exceed the rating printed on the lead. Keep cables out of walkways and don't run them under a rug, where damage is invisible and heat can build. If the desk needs more wall sockets than it has, that's a job for a qualified electrician rather than a chain of adapters.
Label both ends
Label each cable within about 10cm of the plug or connector, at both ends, describing what it powers and where the other end goes: "Monitor 1 — power, wall left", "Dock — USB-C, laptop". Fold a strip of masking tape over the cable if you don't have a label maker, and keep it clear of the strain relief so it doesn't peel.
Two minutes of labelling today saves an hour of unplugging the wrong thing in eight months' time. It also means anyone else in the house can safely switch a plug off while you're out.
Keeping it tidy with almost no effort
Cable chaos returns slowly. A few small habits hold it back: keep a couple of spare hook-and-loop ties in the desk drawer; once a month, remove one cable you haven't used since the last check; and when you add a device, route its cable properly straight away rather than promising to sort it later.
When to stop and call someone
If you find a cable with cracked or exposed insulation, a scorch mark, a plug that feels warm, or a socket that buzzes or discolours, switch it off at the wall and don't reuse it. Anything involving fixed wiring, extra sockets, or a circuit that keeps tripping is a job for a registered electrician. Sorting out trays and clips is well within reach for most people; the electrics themselves are not the place to improvise.
Photo: Pavel Danilyuk / Pexels